Distance learning headsets are an excellent tool for receiving a quality education no matter where the student is; however, headphones’ nooks and crannies can become a hotbed for germs and bacteria. Improperly cleaned headphones can lead to an increased risk of ear infections as well as poor sound quality. So, what is the proper way to clean headphones? Read on to learn how to clean your headphones the right way and say goodbye to mystery gunk forever.
Why Should You Clean Your Headset?
Besides everything we talked about above, properly cleaning headsets means they’ll last much longer. That earwax, lint, dirt, and skin oils that build up on your headphones actually causes them to deteriorate at a much faster rate than properly cared for sets. Properly cleaned and sanitized headsets also facilitate a better user experience, ensuring you receive the best sound and mic quality.
Supplies
For both types, you will need:
- Soap and Water Mixture
- Rubbing Alcohol (do not use on foam components) or 3% Hydrogen Peroxide
- Two Soft Cloths
- Cotton Swabs
- Soft Toothbrush
- Toothpick (optional for in-ear/earbud models)
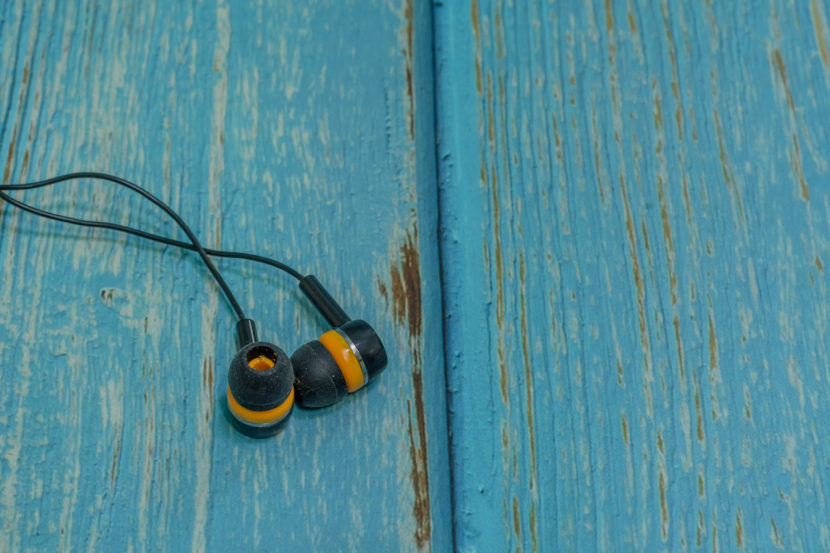
Cleaning In-Ear Headsets
Step 1 – Remove any silicone inserts to clean separately. You can wash them in soap and water or use a little bit of rubbing alcohol on a rag.
Step 2 – Rub the entire set with a dry cloth to get off any superficial dirt, oil, etc.
Step 3 – Clean the plastic casing with soap and water mixture. Clean any small areas with a cotton swab.
Step 4 – Gently clean the headphones with a cloth dipped in rubbing alcohol. Immediately dry with a dry cloth.
Step 5 – Use a soft toothbrush to remove any wax buildup in the driver (the speaker component). Be careful you don’t push too heavily on the driver, so debris isn’t pushed further in. If there is a large amount of impacted earwax and gunk, use some hydrogen peroxide to remove the debris.
Step 6 – Wipe the headphone with soap and water for a second time and immediately dry.
Cleaning On- or Over-Ear Headsets
Step 1 – Remove the earpiece padding and clean separately, depending on the material. With the exception of leather, most are easily cleaned with soap and water on a damp cloth. Use cotton swabs for hard-to-reach areas. Immediately dry the padding.
Step 2 – Wash the entire headset component with soap and water followed by a quick wipe with rubbing alcohol. Immediately dry.
Step 3 – Look at the drivers for any visible dirt. Remove gunk with a soft toothbrush. If your headset was costly, pay for the drivers to be cleaned by a professional; otherwise, use a toothpick to remove any impacted earwax and debris, avoiding pressing into the driver.
Step 4 – Rub over the headset with soap and water then dry with a clean cloth.
For even more convenient and effective headphone-cleaning methods, look into disposable cleaning wipes engineered specifically for distance learning headsets and other types of headphones. Disposable headphone covers are yet another time-saving alternative that helps keep headphones clean and sanitary with each use. These products can help extend the life of your headphones and give you a reassuring clean each time, while also saving you time with the cleaning and disinfecting process.
Cleaning your headset can greatly increase how long they last. If you are the only person who uses your headset, you should aim to clean it at least once a month, with shared headsets receiving a quick wipe down with a baby wipe before each use and thorough cleaning at least once a week. Proper cleaning ensures healthier, happier ears and a better listening experience.